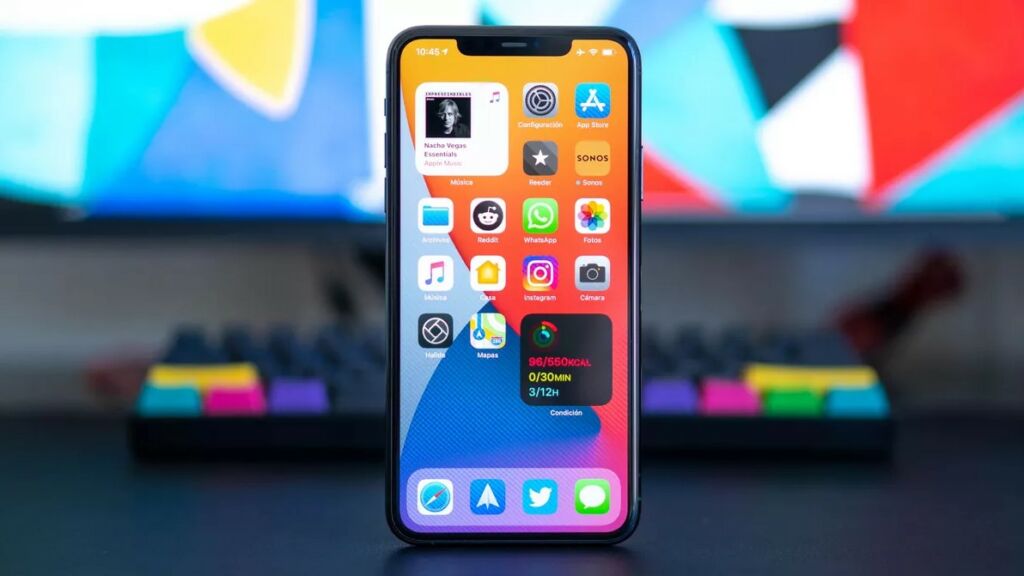
Wondering how to set a ringtone on iPhone from files without iTunes or GarageBand? We wouldn’t blame you for looking for an easier alternative to these tools as they entail more than a dozen steps that are unnecessarily complicated. How do we know? Because we’ve been in your shoes before!
Custom ringtones have forever been a favorite amongst us. However, Apple doesn’t allow users to pick out their favourite songs from Apple Music and use them instead of the boring preset ringtones. If that wasn’t frustrating enough, apps like iTunes and GarageBand definitely make things more complicated, especially for those of us who aren’t exactly tech-savvy.
If you’re looking for an easier alternative to saving your favourite tracks in the Files folder on your iPhone and using them as your ringtones, we’ve got you covered. Keep reading to find out how it’s done in a few simple steps!
How to Set Your Favorite Song as a Ringtone Without iTunes or GarageBand?
In our quest to find the easiest solution for this problem, we stumbled upon WALTR PRO, which is software used for conversions and transfers of Apple-friendly audio and video formats to iOS products, including iPhones, iPods, iPads, and Macs.

We’re already well aware of the strict format requirements that Apple follows – but did you know you can only use tracks that are in M4R format as your ringtones? We tested WALTR PRO to evaluate how it works and if it’s worth our buck. We’ll give our final verdict at the end of this blog.
First, let’s take a look at the simple steps you’ll need to follow when using WALTR PRO and converting your favourite tracks to one of your iPhone’s ringtones:
Step # 1: Download and Install the Desktop Tool
WALTR PRO comes with a free trial period, so you can download and test the product before investing your hard-earned money into the tool. Once you’ve downloaded and installed this app, you can watch an onboarding video to learn how the desktop tool works and then enter your email address to receive your trial key.
Step # 2: Connect Your iOS Device
The first time you use WALTR PRO, you’ll need to connect your iPhone via a USB cable. After that, you can pair the device via Wi-Fi, given that your laptop and your iPhone are on the same network. You can directly transfer the converted file[s] to any iOS device.
Step # 3: Drag & Drop
WALTR PRO has been specifically designed to help Apple users, so all the formats available for conversions are Apple-friendly. In this case, the file needs to be converted to an M4R ringtone, so it automatically moves to the ringtones list on your iPhone’s settings once transferred.
You can choose as many files as you like and convert them to M4R format.
Once you’ve received the notification confirming that the transfer has been completed, you can head to your iPhone’s Settings menu to change your ringtone. The following steps are to be taken to change an iPhone’s ringtone:
· Launch Settings and tap on Sounds
· Select Ringtone and find the new ringtone
· Set the new track as your ringtone
Concluding Remarks
We’ve tried multiple ways of creating and setting soundtracks as ringtones on iPhones and found that most of them were overly complicated. With WALTR PRO, we’ve learned that it can be a piece of cake – even for those not as tech-savvy as others.
Some of the features that especially stood out for us include the app’s ability to pair with iOS devices via Wi-Fi, its automatic iOS-friendly format conversions, and automatic content recognition. So, is WALTR PRO worth our time and money? Well, our experience has been nothing but pleasant and we’d definitely recommend trying its free trial to test the app and see if it works for your needs.
The company has also launched iRingg, a tool that lets users personalize their ringtones and trim them, which has also come in handy for us.
